
Visual System
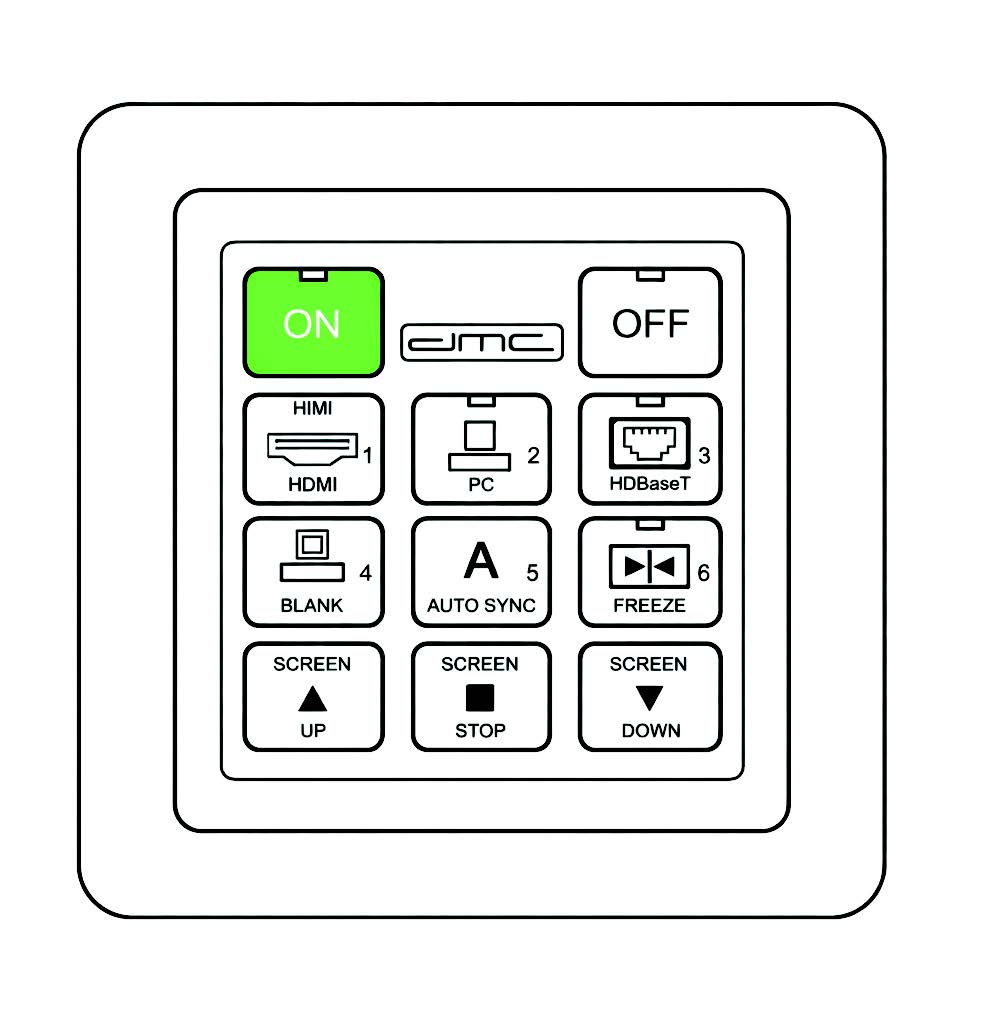
1. Turn on the projector
Beside the AV Room door, there is a Projector Controller and a Power Key Switch.
The Power Key Switch controls power for the Audio & Visual system and should only be turned on by parish-appointed caretakers.
Once power is on, tap ON on the projector controller.
The button will turn green, and the projector will power on.
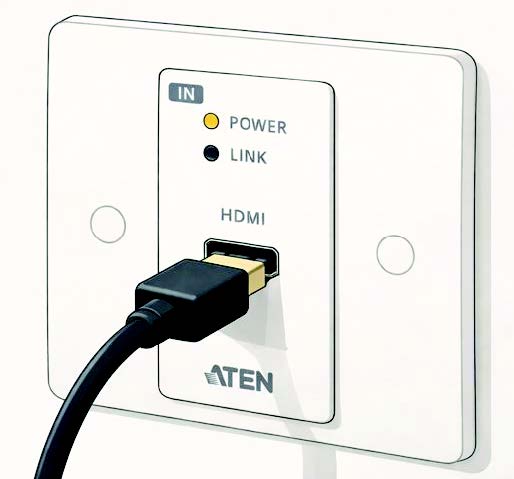 2. Connect your device via HDMI
HDMI wall input terminals are located at the front of the hall near the stage, on both the left and right sides.
-
Use a compatible HDMI cable.
-
Plug one end into the wall terminal and the other into your device.
-
The projector should automatically detect your device and begin displaying.
-
Audio will be transmitted through the HDMI cable, so no separate audio cable is required.
HDMI cables are stored behind the stage. After use, please return them to their original location.
-
Gently unplug the HDMI cable from your device and the wall input terminal.
-
Tap OFF on the projector controller.
The button will turn red, and the projector will power off.
If nothing appears on screen:
-
Check that both ends of the HDMI cable are securely connected.
-
If using a Windows laptop, press Windows + P and select Duplicate or Extend.
-
Try using the HDMI wall input on the opposite side of the hall.
-
Check whether the projector is powered on and showing a white background with a logo.
-
If nothing is displayed, it may have entered idle mode due to inactivity.
-
Go to the projector controller, tap OFF, then tap ON again to restart it.
-
Please request assistance from the parish caretakers if you need to use the projector backdrop screen.
In most situations, there is no need to use the backdrop screen, as the stage wall is sufficiently white for the projector to display accurate colours and a clear image.